
If you are a blogger, content creator, designer or a Pinterest users, you’ve probably heard of mood boards.
They’re more than just pretty collections of images. They’re powerful tools to organize your ideas, find inspiration, and stay visually consistent with your brand.
And what better platform to create a mood board than Pinterest?
In this step-by-step guide, I’ll walk you through exactly how to create a mood board on Pinterest, whether you’re planning your next blog theme, content shoot, or branding style.
By the way, if you’re new to Pinterest or want to grow fast, check out this Pinterest 2025 setup and strategy guide.
What is a Mood Board?
A mood board is a visual collage of images, colors, fonts, quotes, and textures that convey a specific aesthetic, vibe, or idea.
Think of it as your creative roadmap.
Here’s what mood boards can help with:
- Finding a consistent style for your blog or brand
- Brainstorming content ideas
- Planning a project like a product launch, photo shoot, or rebrand
- Communicating your vision to collaborators or clients
And Pinterest is the best place to create a mood board.
It’s visual, searchable, and super easy to organize. You can create private or public boards, pin content from anywhere online, or upload your own visuals.
It’s perfect for creators who want to get inspired or stay organized.
How to Create a Mood Board on Pinterest : Step-by-Step:
Step 1: Define the Purpose of Your Mood Board
Before you start pinning everything that looks pretty, ask yourself:
-
What is this board for?
-
What emotions or themes do I want it to reflect?
-
Is it for a specific project (e.g. a blog rebrand, a seasonal campaign, content style)?
Example:
If you’re planning a blog launch or niche project, this is where it all starts.
Example: If you’re starting a minimalist lifestyle blog, your board might focus on neutral colors and cozy vibes.
Not sure which niche to choose? Here’s a list of the best blog niches to start in 2025.
Step 2: Create a New Pinterest Board
-
Log in to your Pinterest account.
-
Click on your profile and go to the Saved tab.
-
Hit the + icon and select Board.
-
Give your board a clear name (e.g. Spring Blog Vibes, Branding Aesthetic, Photo Shoot Inspiration).
-
Decide if you want it to be Secret (private) or public.
If it’s for your personal use, you can keep the board secret.
💡 Pro tip: Use a short description to remind yourself of the board’s purpose or keywords for Pinterest SEO.
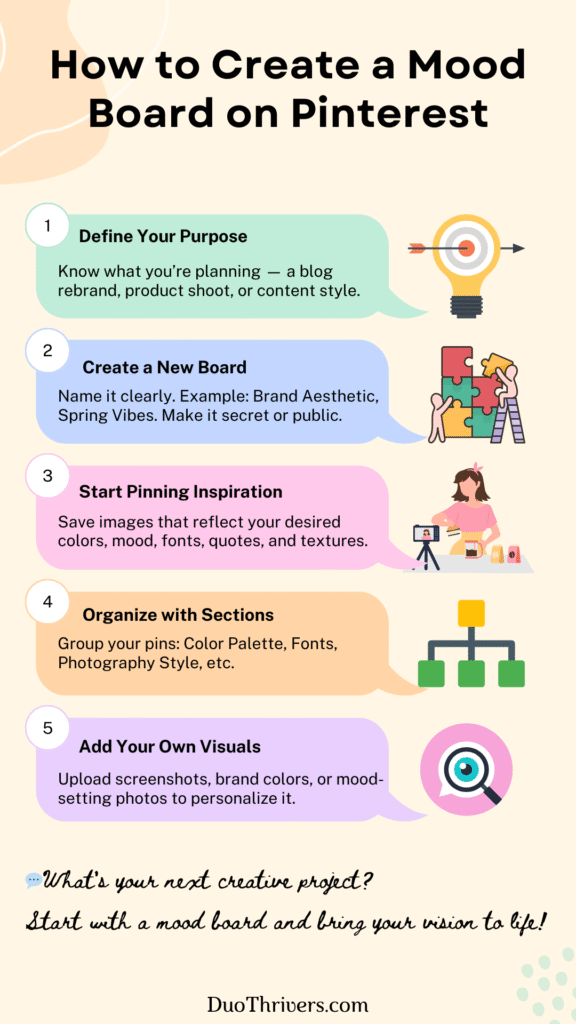
Step 3: Start Pinning Inspiring Content
Now comes the fun part – pinning!
You can pin from:
-
Pinterest’s home feed or search results
-
Your favorite websites and blogs
-
Your own blog or content
-
Uploaded images (great for adding screenshots or brand elements)
If you’re just starting with a new Pinterest account, this is a great moment to use Pinterest keyword research to help guide what kind of pins to collect.
Want to make your first $500 with a fresh account? Read this guide: Make your first $500 on Pinterest.
Look for visuals that represent:
-
Colors (palettes or specific hues)
-
Fonts and text overlays
-
Textures (wood, linen, marble, etc.)
-
Photography styles (light & airy, moody, warm tones)
-
Quotes that reflect your message or vibe
-
Objects that symbolize your brand (like plants, coffee cups, journals)
🧠 Think like your future self — what images would get you excited to create?
Step 4: Arrange & Organize Your Board
Pinterest automatically arranges your pins chronologically, but you can add a little structure:
-
Create sections within your board (e.g. Color Palette, Fonts, Photo Ideas)
To create sections with a board, follow the steps below:
- Open the board
- Click on Organize

- Select the Pins for which you want to create a section
- Now, click on the “create section” present at the bottom of your screen

-
Move important pins to the top by repinning them last
-
Delete or move out-of-place pins that don’t match your vibe anymore
This helps your board stay focused and cohesive.
This part is all about staying clean and cohesive. If you’re aiming to turn this into a content strategy tool, don’t miss this guide on common Pinterest mistakes beginners make.
Step 5: Add Your Own Visuals
Mood boards don’t have to be built only from other people’s content.
Upload your own:
-
Blog graphics
-
Product mockups
-
Brand logo or color swatches
-
Personal photos
To upload:
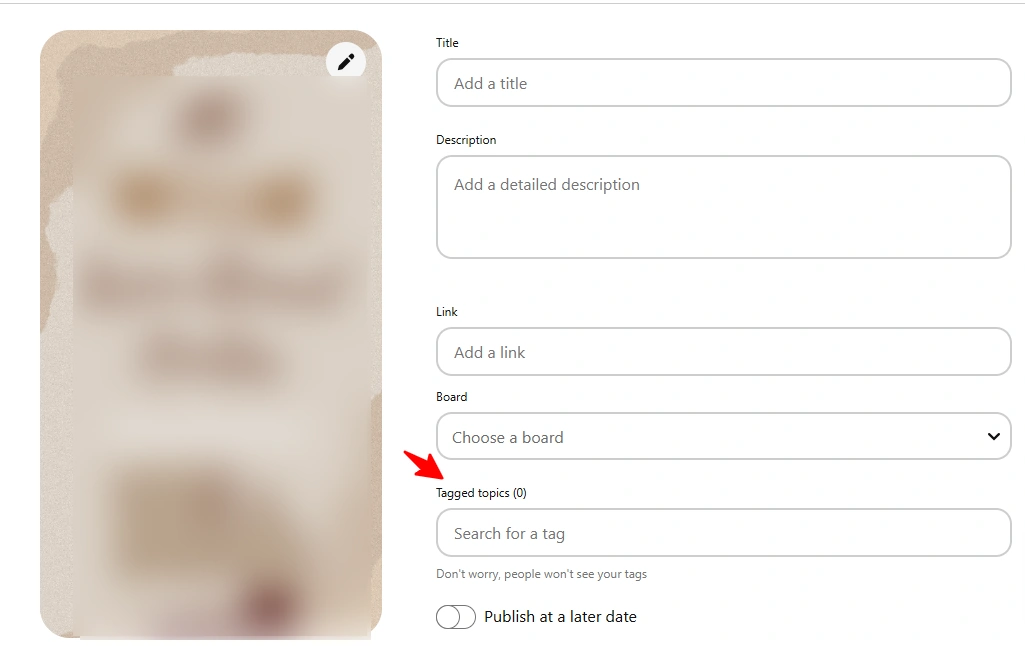
-
Click the + icon on Pinterest
-
Select Create Pin
-
Add your image, title, and description
-
Save it to your mood board
This step makes your board more personal and helps visualize your unique style.
Use your own photos, blog graphics, and branding elements. Need fresh pin design ideas? These 15 pin templates skyrocketed my Pinterest impressions in 30 days.
Step 6: Use Your Mood Board to Guide Your Projects
Your mood board is not just for show, it’s a creative tool.
Refer back to it when:
-
Designing new blog graphics
-
Choosing Instagram filters
-
Planning your newsletter style
-
Creating new Pinterest pins
-
Writing blog content with a certain mood or aesthetic
Having that visual reference makes decision-making easier and keeps your content on-brand.
Using Canva to Create a Mood Board for Pinterest
While Pinterest is a great place to gather inspiration, sometimes you want a more polished, customized mood board you can upload as a single image, especially if you’re planning to share it or use it in your branding kit.
That’s where Canva comes in.
Canva makes it super easy to design your own mood board from scratch (or using a template) and then pin it directly to Pinterest.
Here’s how:
Step-by-Step: How to Create a Mood Board in Canva
1. Open Canva & Search “Mood Board”
Head to Canva and search for “mood board” in the templates section.
You’ll find plenty of free and premium layouts you can customize.
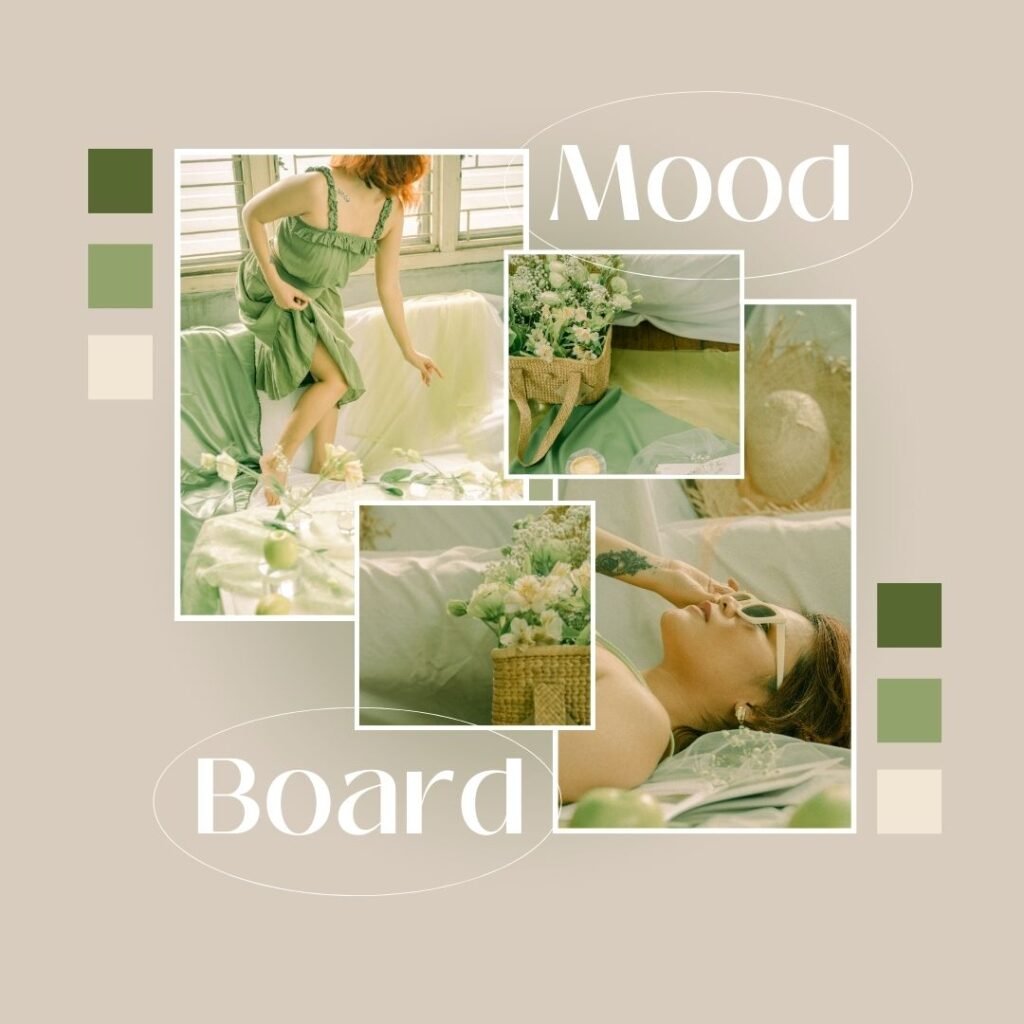
2. Choose a Template or Start from Scratch
Pick a layout that fits your style.
If you’re building a brand mood board, choose one that includes space for color swatches, typography, and imagery.
3. Add Your Visual Elements
Drag and drop your favorite images, screenshots, textures, or colors into the board. You can upload:
-
Pins you’ve saved from Pinterest
-
Photos from a content shoot
-
Brand elements like logos or hex codes
-
Inspirational quotes or styled text
4. Customize Fonts & Colors
Make it truly yours by adjusting fonts, background colors, and spacing to reflect your brand’s vibe or the mood you’re going for.
5. Download & Upload to Pinterest
Once you’re done, download your design as a PNG or JPEG. Then go back to Pinterest and upload it as a new pin to your mood board.
This way, you’re turning your inspiration into a cohesive visual plan, something you can refer back to or even share with collaborators, clients, or your audience.
Pro Tip:
Create one “Master Mood Board” in Canva, then duplicate it whenever you start a new project. It saves time and keeps your content aligned.
Bonus Tips for Bloggers & Creators
-
Make seasonal mood boards: Create new boards for each season or major campaign (e.g. Fall Aesthetic, Black Friday Launch, Summer Rebrand).
-
Collaborate with others: Invite your designer, photographer, or virtual assistant to view or add pins to a shared mood board.
-
Use secret boards: Keep behind-the-scenes planning private while still benefiting from Pinterest’s organization.
-
Download or screenshot for later: Use your mood board in Canva, Notion, or wherever you plan content.
-
Collaborate on a mood board with your virtual assistant, brand designer, or Pinterest manager.
-
Curious about what Pinterest niches actually work now? Read what to focus on (and skip).
-
Want to take this further? Learn how to become a Pinterest Creator and earn $2000/month.
Final Thoughts
Mood boards are one of the easiest ways to stay creatively focused.
And Pinterest is the ideal tool to support that, whether you’re blogging, running a small business, or even planning a new side hustle like print-on-demand T-shirts.
Whether you’re planning a rebrand, refreshing your content, or just exploring your aesthetic, a good mood board can spark ideas and bring your vision to life.
So go ahead and create that mood board, fill it with beautiful things, and let it guide your next big creative move.
Want help designing Pinterest graphics or organizing your brand visually?
Check out my Pinterest services, where I help creators grow with strategy and style.
Note: Some of the links on this page are affiliate links, which means we may earn a small commission if you choose to make a purchase through them-at no extra cost to you. We only recommend products and services we genuinely believe in and find useful.