Pinterest growth depends on two major factors – keyword research and pin design.
If you can master these two areas, you will definitely see consistent growth on Pinterest.
In our previous Pinterest Guides, we’ve talked a lot about how pin design can directly influence your success on the platform. But this is the first time we’re diving into how to actually create winning pins.
Pinterest covers a wide range of niches, and while we can’t cover every single one, we’ll walk you through a process that you can easily adapt to fit your specific niche.
If you’re ready and excited, let’s jump right into the details.
Why should you focus on Good Pins Designs?
At the end of the day, everyone wants outbound clicks from Pinterest whether it’s to a blog or a Shopify store. But many people overlook the fact that only well-designed pins can deliver those expected results.
While we won’t deny that Pinterest Keyword Research is the most important foundation, even the strongest keyword strategy won’t drive results without compelling pin designs.
Optimized pin designs improve your click-through rate (CTR), which simply means you can get more traffic even with low impressions.
Elements of a High-Converting Pin
Before you get started, let’s understand elements of a good Pin design.
1. Text Visibility –
The most important part of a Pin is the text or keyword added. You just have to make sure that the text overlay on your Pin is visible and grabs attention.
Pinterest users keep scrolling to find more ideas, and to grab their attention from the search results, you can always use large and bold texts.
To put a long-tail keyword on your Pin, use visual hierarchy. Keep the primary keyword in a bigger font with a contrast color. The rest of the text can be smaller in size.
2. Color Selection –
Depending on the topic and niche you’re working in, you have to select the most relevant color for your Pin. You can always go for pastel tones depending on the image you’re using.
Choosing an aesthetic color that matches the vibe increases your chances of getting clicked and going viral.
Sometimes, you may need to test a color that makes your Pins stand out from the crowded results.
3. Use of Graphic Elements –
Always make sure to use original and unique graphic elements or images for your Pins. Some niches might not require original photos, but if you have an account in niches like Recipes, DIY, Fashion, etc., you must add images clicked by you.
Copying others’ images is considered a violation of Pinterest’s policy. The original creator can report it, and Pinterest may take your Pin down.
If you’re in a more general niche, you can look for non-copyrighted images.
4. Font Selection –
Just like color selection, font selection should be relevant to your niche or topic.
For instance, if you’re covering a serious topic like World C@ncer Day, you must avoid using playful or comic-style handwriting fonts.
5. Non-Sophisticated Design –
Newbies often think that adding extra graphic elements or effects to the text makes a Pin attractive. But that’s not always the case.
I’ve seen Pins with minimal design perform better on Pinterest.
Adding outlines, borders, gradient effects, shadow effects, or other design extras can make the image look cluttered, especially on mobile view.
The best approach is to make simple and aesthetic design choices.
Well, now you know the features of a good Pin design.
In the next section, we’ll see how you can design a Pin.
How to create Pinterest Pins on Canva
We won’t dive too much into the basics of Canva here. If you’re unfamiliar with the platform, you might want to watch a few tutorials on YouTube first.
If you’re already aware of the main features, you can jump right in and start creating Pins for your account.
Let’s try creating a couple of Pins now.
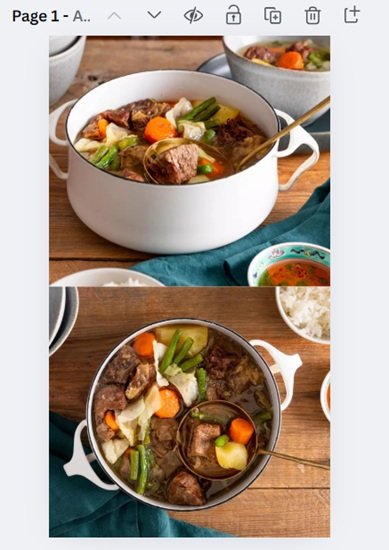
Example 1 – Recipe Niche
1. Choose a resolution
After selecting the Create option on Canva, you’ll see an option to choose your design size.
Pinterest’s recommended resolution is 1000 x 1500 pixels, but you can also go with 1080 x 1920 pixels.
2. Add images
Here, I’ll add images from the blog post. But if you don’t have your own images yet, you can try finding some in Canva’s gallery or on free image websites like:
- Pexels
- Unsplash
For this example, I’ll just drop some images onto a blank canvas.
3. Add a background for text
Placing text directly on a colorful image isn’t ideal, it hurts readability. To improve visibility, try adding a background with a neutral color like white.
To do this:
Search “Rectangle” in the left-side panel. You can then pick any shape, change its color, adjust borders, etc.
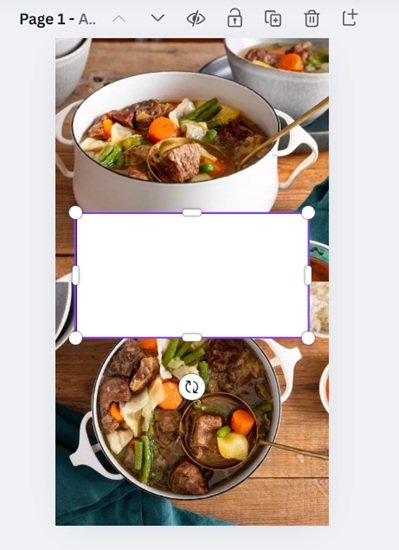
You’ll notice most Canva templates follow this approach. That said, adding a background isn’t mandatory, you can experiment and see how the text looks without one.
4. Add an effect to the background
This step is optional, but adding subtle effects can make your design look more premium.

A soft shadow around the box edges adds a polished touch.
To do this on Canva:
Search “Square Shadow” in the left panel and apply the effect.

5. Add your Primary Text
Now that your background is ready, add your main headline.
What’s the primary text? It’s simply the part of the title you want to emphasize visually. In this case, we’re highlighting “Nilagang Baka” from our Pin title.
Choose fonts and colors that make the text pop.
For this example, I used a Canva font called Brice Bold Condensed. Feel free to try different font.
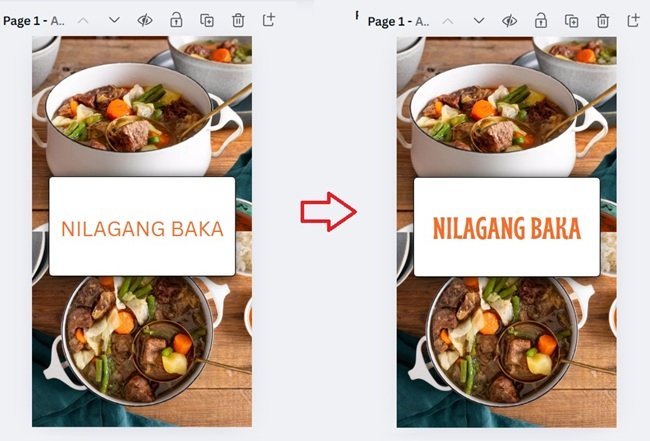
We could have selected any other text effect for our primary text, but remember what we discussed earlier. Simple designs and font grabs more attention.
So, keep it simple!
6. Add your Secondary Text
Now add your secondary text. I used a handwritten-style font to make it look more aesthetic while keeping it readable.
I also used a different color for this text to create contrast with the primary text.
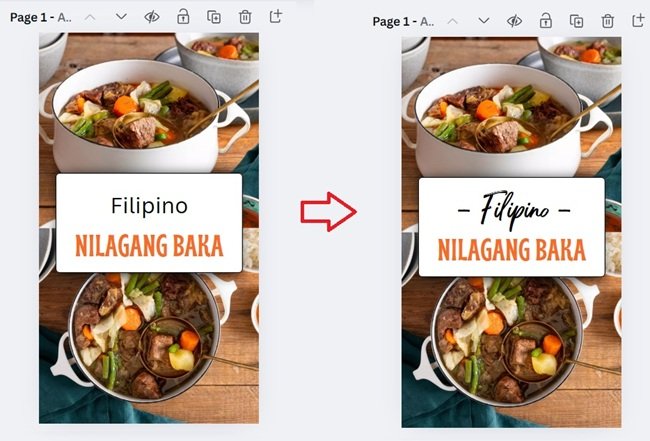
7. Tweaking font size
Once all your text is in place, take a moment to adjust font sizes.
Make sure the primary text stands out clearly. If space feels tight, reduce the size of the secondary text but make sure it’s still visible.
Primary text catches attention. Secondary text should complete the message.

8. Add your website tag
Lastly, add your website tag or URL to the Pin.
You can place it anywhere, but I personally prefer putting it at the bottom it looks cleaner and professional.
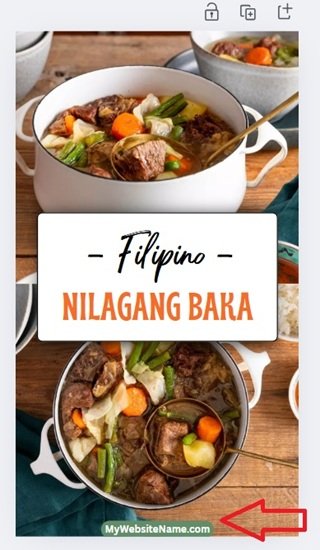
And that’s it!
Let’s see one more example now.
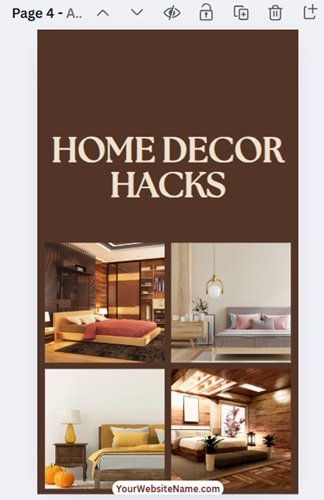
Example 2 – Home Decor Niche
Pin title – 20 Budget Friendly Home Decor Hacks you need to try
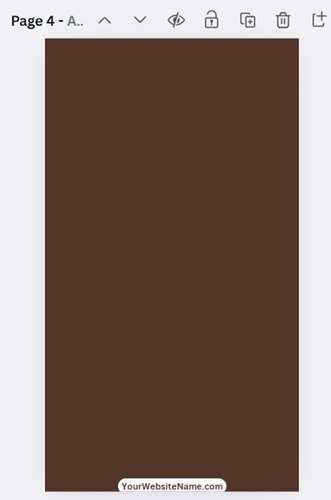
1. Choose background
Unlike the first example, we won’t be focusing too much on the imagery. So, we’ll begin by selecting a background. Let’s go with a dark-toned background to make the text and elements stand out.
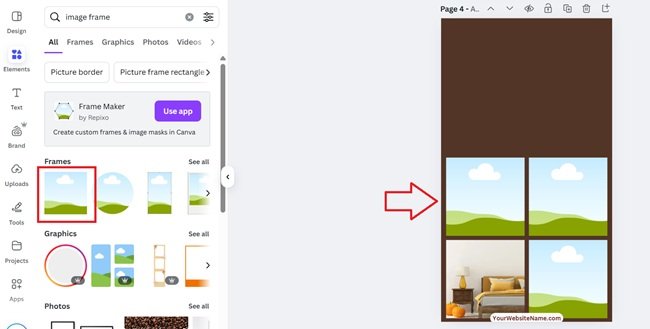
2. Add Image Frames
To maintain consistency in image sizing, use Canva’s image frame feature. You can search for “Image Frame” in the left sidebar. In this example, we’ll include four images, each placed within a frame.
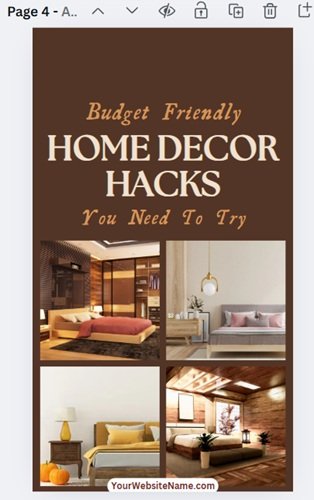
3. Add primary text
Here, “Home Decor Hacks” will serve as the primary text. Choose a font that’s clean, simple, and highly visible. Bold fonts with clear legibility work best here.
4. Add Secondary text
The phrases “Budget-Friendly” and “You Need to Try” are our secondary keywords. Use a different color and font for these to create visual contrast.
A handwriting-style font can add a personal, stylish touch and distinguish it from the main headline.
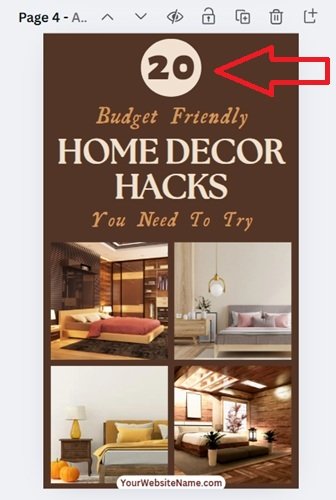
5. Add numbering
While the number isn’t the primary focus, it still needs to pop. To draw attention, style it similarly to the primary text.
Let’s add a circular background behind the number, though feel free to use any shape that complements the overall design.
In the next section, we’ll go over how to create good-looking Pins faster using templates and batch design tips.
How can you produce better-looking Pins faster?
You can design every Pin from scratch and give it a unique touch, but there’s one downside to this approach, it takes a lot of time.
And as we’ve mentioned many times before, to see meaningful results on Pinterest, you need to publish around 5 to 10 Pins daily.
So, how can you create eye-catching Pins in less time?
The answer is: Templates.
Canva offers plenty of ready-made templates that you can customize to match your content. You can either tweak them as needed or simply use them for font and layout inspiration.
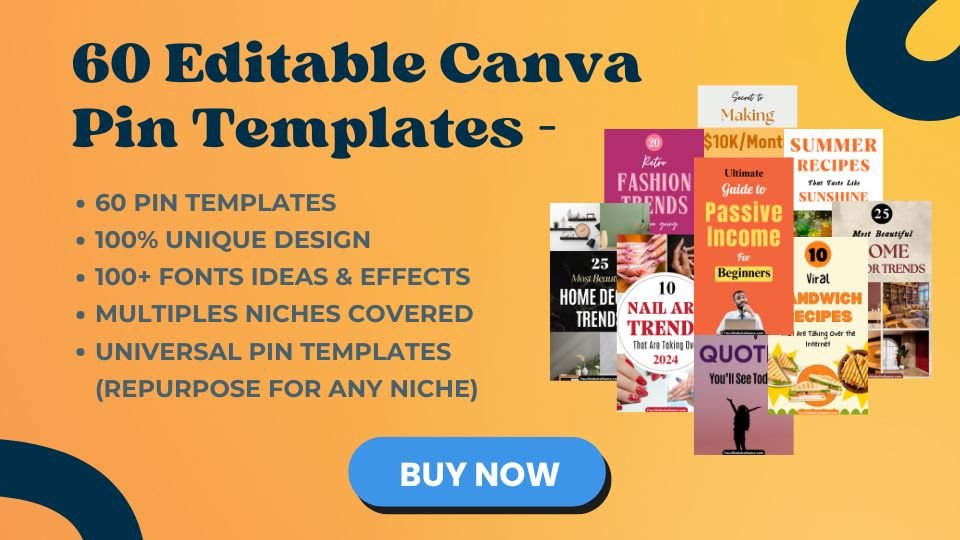
Speaking of templates, we’ve designed a set based on High-Performing Pins from the Past. If you’re looking to speed up your Pin creation process, our templates can definitely help.
You’ll get 60 Premium Universal Templates that are fully editable, so you can create professional-looking Pins in minutes.
They’re currently on SALE, you can check out the purchase link here.
Note: Some of the links on this page are affiliate links, which means we may earn a small commission if you choose to make a purchase through them-at no extra cost to you. We only recommend products and services we genuinely believe in and find useful.